There are tons of reasons to add a map to your WordPress site. However, if you have a directory website or online community, you might want to take it a step further and build a sophisticated user map that displays members’ locations.
Although this sounds tricky, it’s relatively straightforward with the right tools. In fact, with Profile Builder Pro and the User Listings add-on, you can allow members to set up profiles, add their locations, and pinpoint exact addresses of other individuals/businesses.
In this post, we’ll take a closer look at the reasons to create a user location map. Then, we’ll share six steps to set up an interactive Google map for WordPress sites. Let’s jump in!
Why Should You Add a User Location Map to Your Website?
If you have a physical business (such as a restaurant or retail store), a map enables customers to quickly locate your address. It’s also a good way to improve your performance in local search results.
However, if you have a membership website or a user directory, you might also want to display user locations on your map. For example, you might list industry professionals like dentists or therapists.

blink plus plan with monthly auto-renewal
$11.99 (as of July 17, 2026 04:14 GMT +00:00 - More infoProduct prices and availability are accurate as of the date/time indicated and are subject to change. Any price and availability information displayed on [relevant Amazon Site(s), as applicable] at the time of purchase will apply to the purchase of this product.)Or, you might run a business directory (similar to Yellow Pages) that displays companies like automotive repair shops or private medical clinics. In these instances, it would be helpful for visitors to find exact addresses.
Perhaps you have an online community where members share similar interests or goals, like a support group website or dating site. In this case, you can facilitate in-person meetings by allowing members to display their locations.
What You’ll Need to Create a User Location Map
If you want to add a basic Google map to your website (without user locations), you might be fine with a WordPress map plugin. But if you want to display user locations, you’ll need to:
- Let members set up profiles and add their locations.
- List your entire user base.
- Allow members to search or filter results.
To handle these tasks, you’ll need a user management plugin like Profile Builder. This way, you can replace the default WordPress pages with custom forms that collect the exact information you require.
Not only that, but you can style forms using pre-designed templates, which make your website look more professional. And although there’s a free version, you’re going to need Profile Builder Pro in order to use the user map feature:
Profile Builder Pro
Create beautiful front-end registration and profile forms with custom fields. Setup member directories, custom redirects, cutomize user emails & more using the all in one user management plugin.
This gives you access to advanced form fields, including the Map Field, which you’ll need to generate your user map. This way, people can pin their exact locations and find other members.
With Profile Builder Pro, you can also activate a range of add-ons for extra functionality. For this tutorial, you’ll need the User Listing add-on to display all your members.
You can also configure multiple directories and organize these by categories. This add-on is also ideal if you want to make a private website, where listings can only be viewed by registered members.
How to Create a Google Map for Your Users (6 Steps)
For the sake of this tutorial, we’re going to assume that you already have a WordPress website.
If not, you’ll need to download the software from WordPress.org. Or, you can select a web hosting provider to set it up for you. After that, here are six steps you’ll need to create a user map.
1. Install Profile Builder Pro and the User Listing Add-On
The first step is to install the Profile Builder plugin. As we discussed, you’ll need Profile Builder Pro for this tutorial.
You can purchase your preferred plan from the Cozmoslabs website. Then, download the zip files from the account dashboard:

Next, you’ll need to add these to the WordPress admin panel, so head to Plugins → Add New → Upload Plugin. Select the zip file from your computer and click on Install Now → Activate.
Note that you’ll need to install both the main plugin and the pro extension for this to work. We’d also recommend entering your license key to enable automatic updates.
With that taken care of, in you WordPress dashboard, navigate to Profile Builder → Add-ons and look out for the User Listing option:
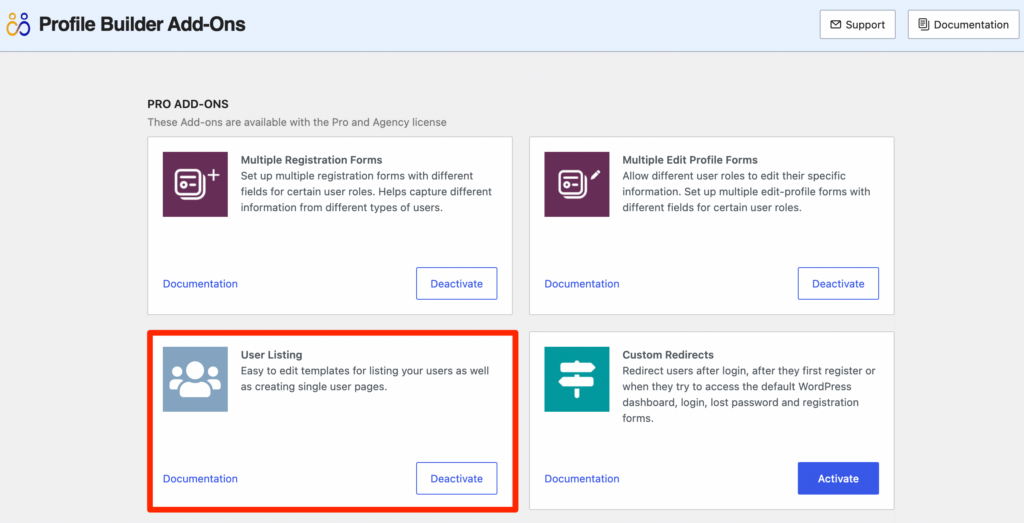
Activate the add-on and you should now see a new User Listing tab beneath the Profile Builder section of WordPress.
2. Add the Map to Your Profile Builder Form Fields
With the plugin and add-on successfully installed, it’s time to add the Map Field to your Profile Builder form fields.
You want members to be able to add their own point of interest (POI) to be displayed on the user map. But the information inside the POI will be tied to the member’s profile (like the avatar, first name, last name, etc).
Therefore, you’ll need to head to Profile Builder → Form Fields to customize your front-end account pages. Selecting Map will prompt you to edit the form field properties:
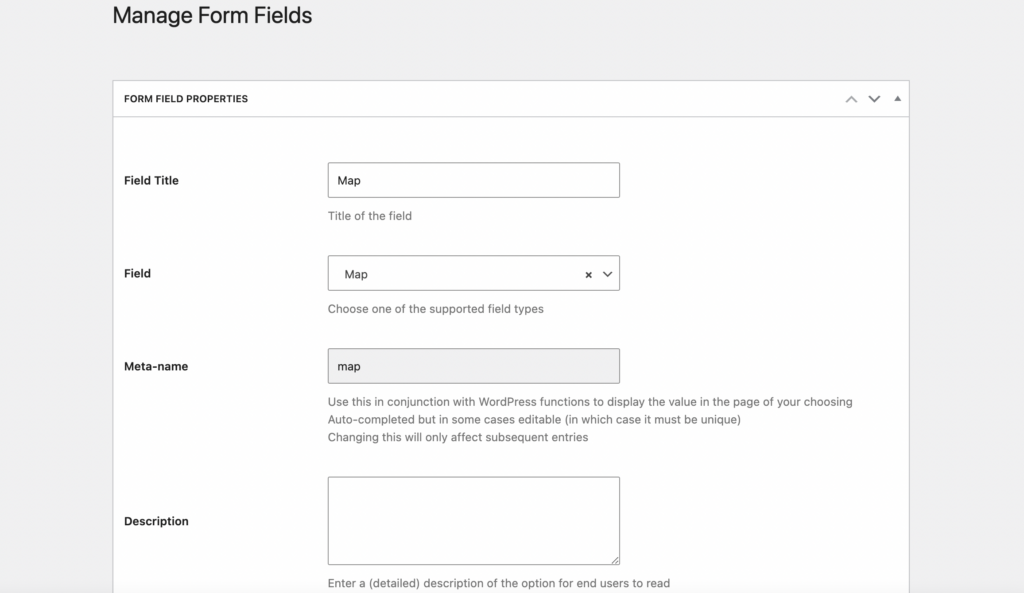
For example, you can enter a field title and description. You can also make the field a requirement and enable conditional logic.
For this specific field, you have the ability to change the default latitude, longitude, zoom level, and height. But this field also requires a Google Maps API key (which we’ll show you how to generate next).
3. Enable the Relevant APIs
To successfully add the map field to your forms and listings, you need to generate a Google Maps API key. But first, you need to enable the APIs that you’ll use for your user map.
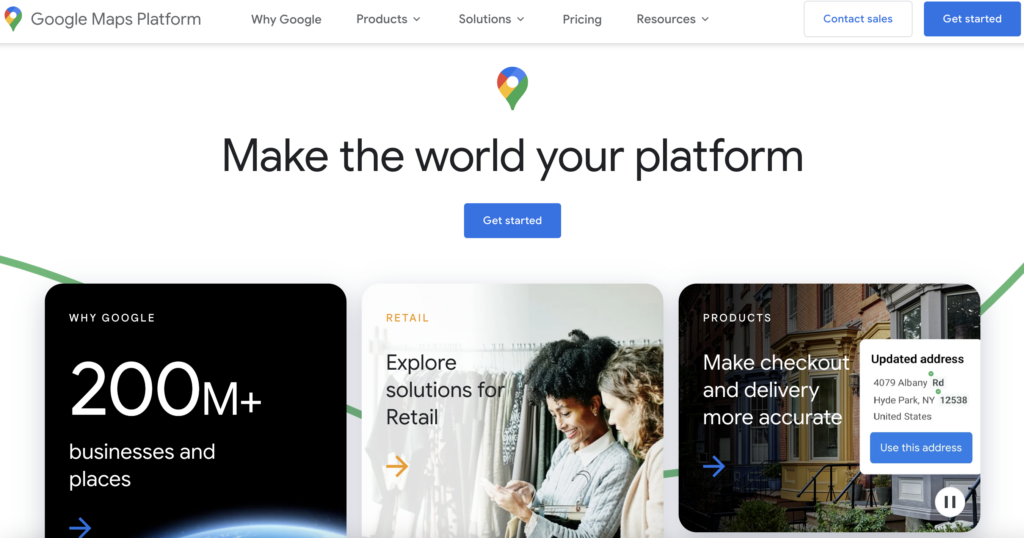
To get started, visit the Google Maps Platform and click on Get Started:
Then, sign in to your Google account.
If you haven’t done so already, you’ll need to set up a payment profile. Note that the first $200 of monthly usage is free, so you won’t pay any fees unless you exceed this amount.
With your billing account set up, you’re ready to enable the relevant APIs:
- Maps JavaScript API (to build a custom Google map).
- Places API (to allow users to search for specific locations).
Use the search bar to find “Maps JavaScript API” and click on Enable:
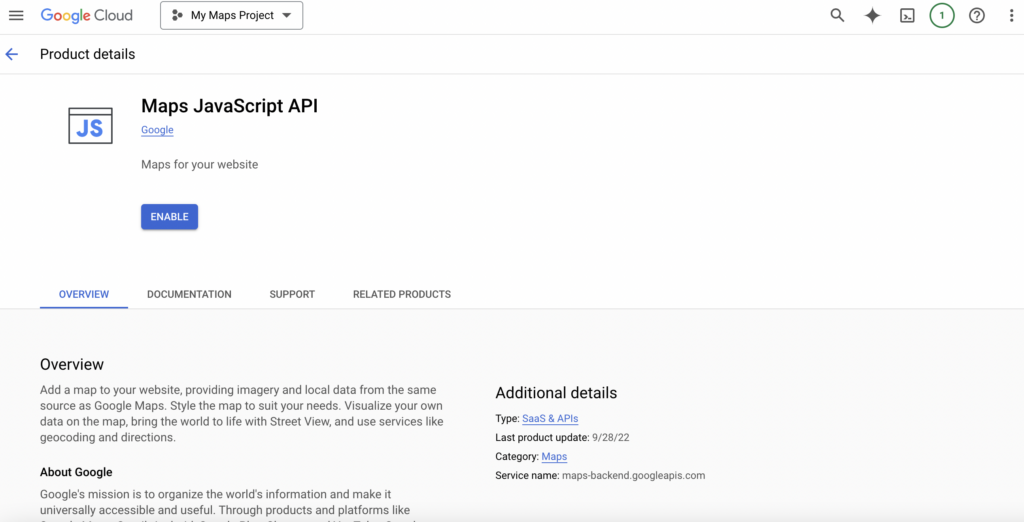
Then, do the same thing to enable “Places API”.
4. Generate a Google Maps API Key
At this point, it’s time to actually generate your API key.
Head to APIs & Services and click on Credentials. Then, select an existing project from the list or create a new one:
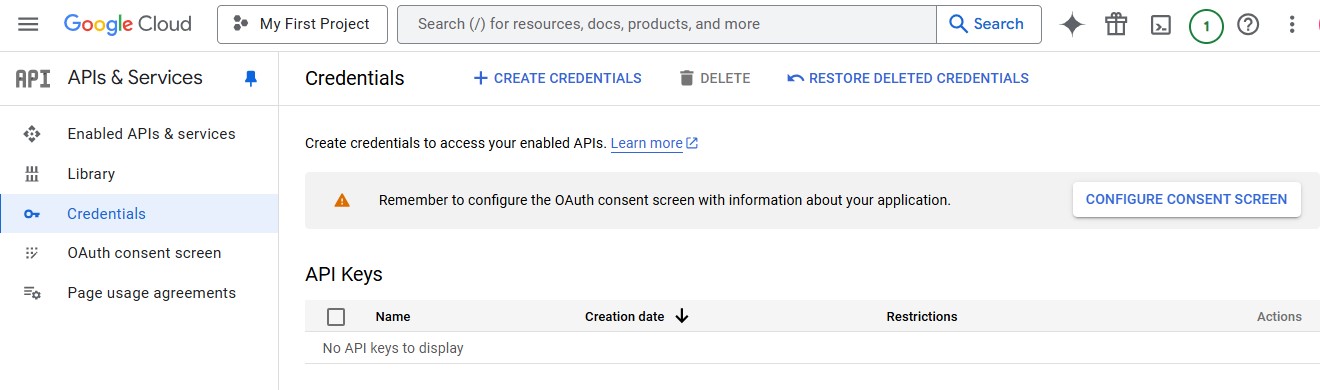
Enter a project name before clicking on Create Credentials. At that point, choose the API key option from the dropdown. You should see a dialog box that contains your newly-generated API key:

However, you only want to use the APIs that you need for your WordPress site. So, from the Credentials page, select your API key to bring you to the property page.
Under Key restrictions, click on Restrict key. Then, select Maps JavaScript API and Places API from the dropdown before saving the changes.
Note that these APIs need to be enabled first for this to work.
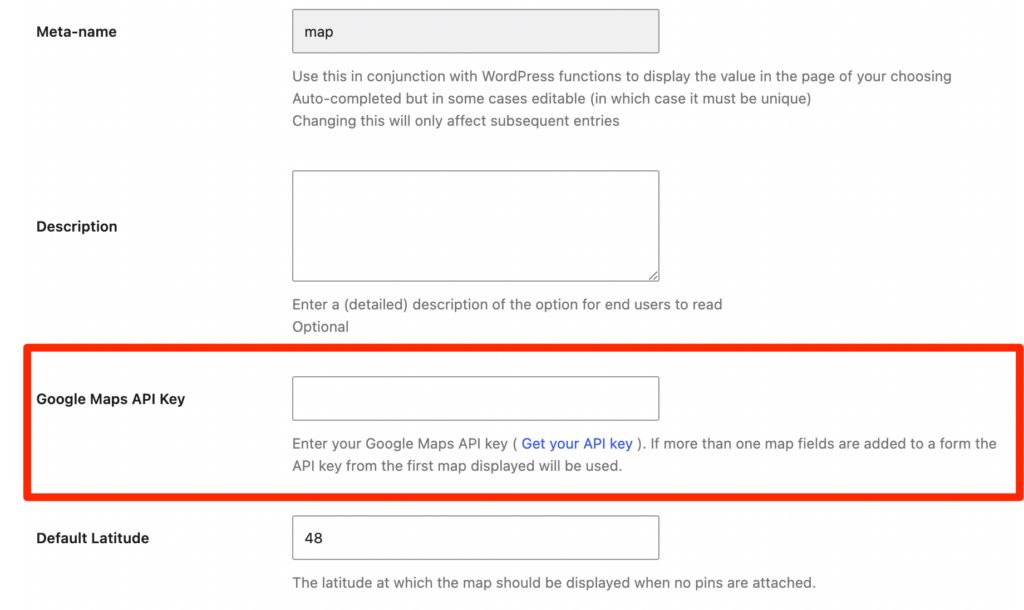
Now, copy the key to your clipboard and return to your map field properties (in Profile Builder). Paste the string into the Google Maps API Key box:
You’ll also need to change the POIs Load Type to POIs of all the users for the filter* (no pagination).
And, you’ll need to use the POI Bubble Info dropdown to select the attributes to be listed in the POI bubble:
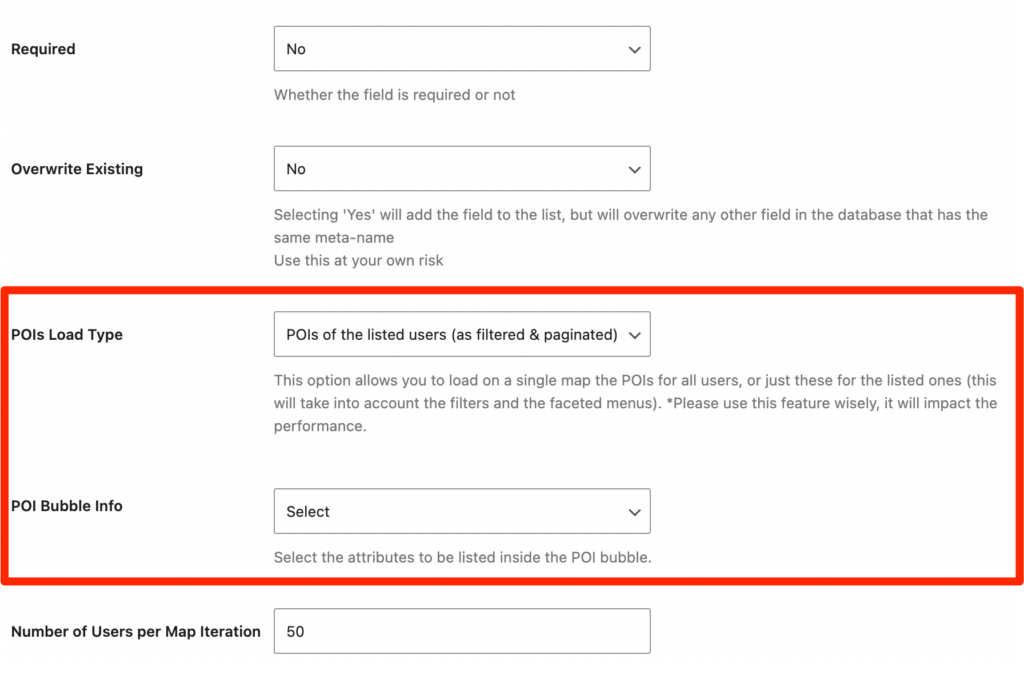
Then, click on Add Field.
At this point, your Profile Builder forms will contain the map selection. For example, if you have a dating website, here’s what your registration form might look like:
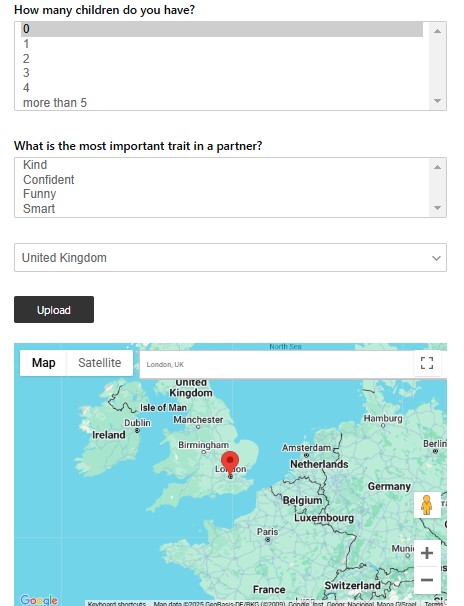
Meanwhile, members can change their addresses on the map, see street views, and adjust the zoom level.
5. Add Users to Your Google Map
You might be wondering why you needed to install the User Listing add-on. Well, that’s what you’ll use to display all members on the map.
First, go to Profile Builder → User Listing where you’ll find important user listing settings. This is also where you can apply a new theme to the user listing section.
If you scroll further down, you’ll arrive at the All-UserListing Template. Then, expand the Extra Functions box:
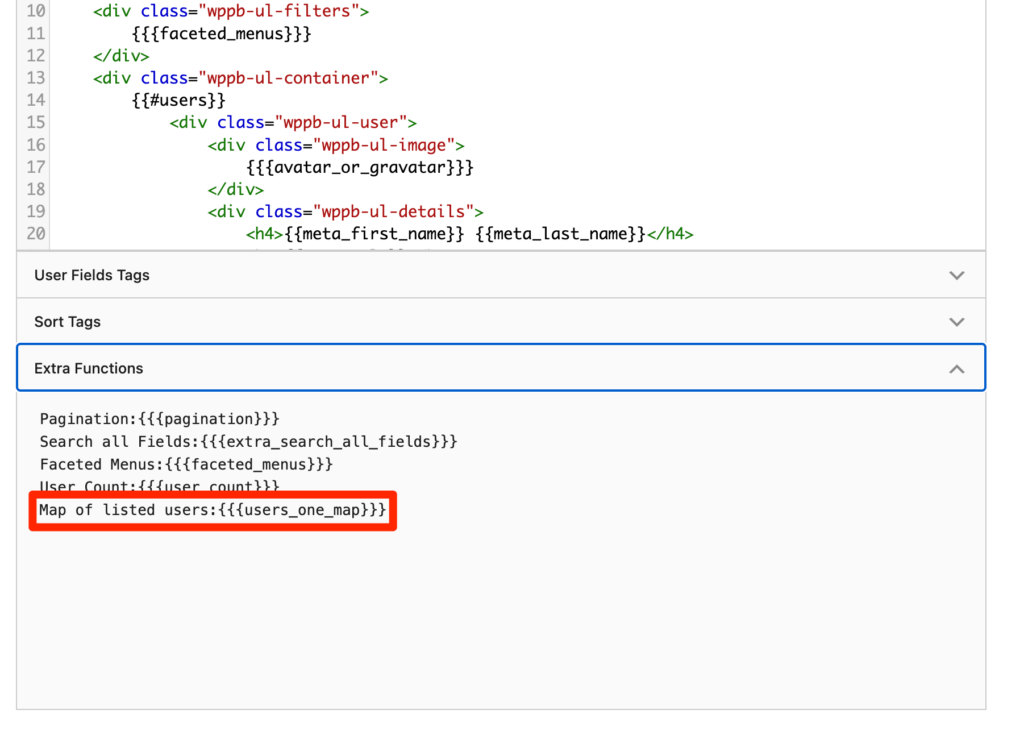
Here, you can use the Map of listed users tag: {{{users_one_map}}} to create a user map that contains all the POIs that members have added.
If you have less than 300 POIs, it should load instantly. Otherwise, they’ll load asynchronously to reduce performance issues.
Next, scroll below to find the Single-UserListing Template. This time, click on User Fields Tags:
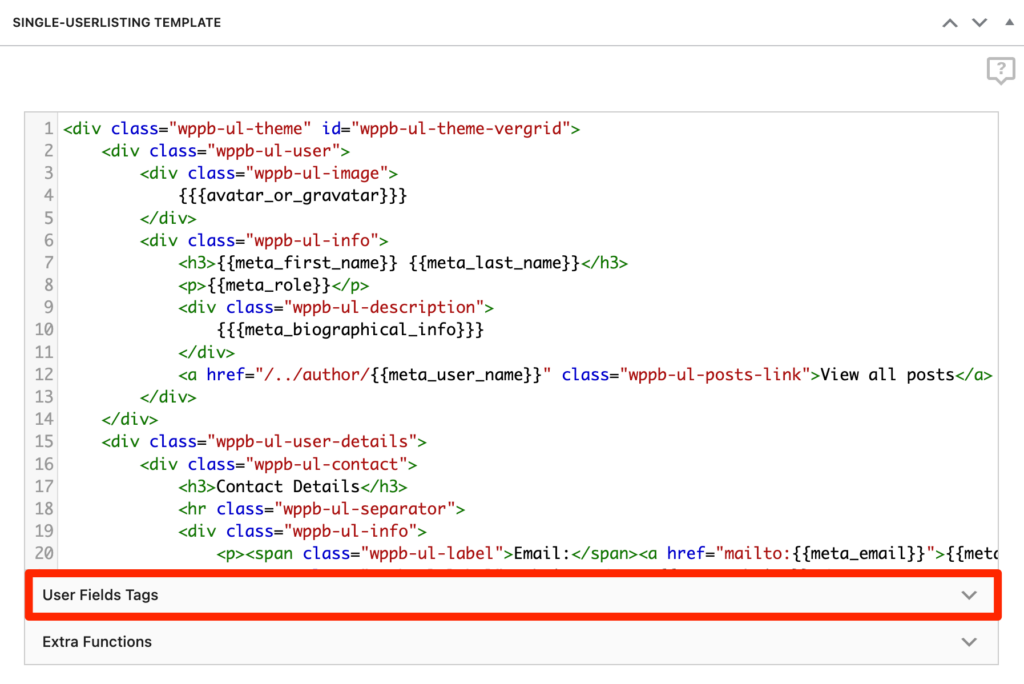
You should see the unique metaname assigned to the Map field (which you created in Form Fields).
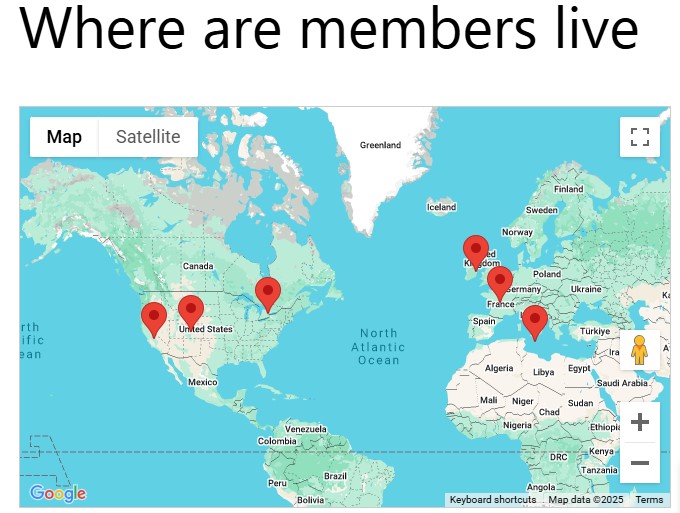
Here’s what your user map might look like on the front end:
Remember that you’ll need to copy the shortcode of your user list (from the User Listing page) and add it to a page. Alternatively, when working with Gutenberg, you can just use the User Listing block.
6. Optional: Configure Faceted Filters
You may like to create a more sophisticated user map by adding filtering functionality. This allows members to search for other users’ POIs based on the faceted filters you define for the user listing.
You can filter the directory based on any information included in the form fields like age, sex, location, etc. When you apply filters to the search, you’ll only see users that match the criteria.
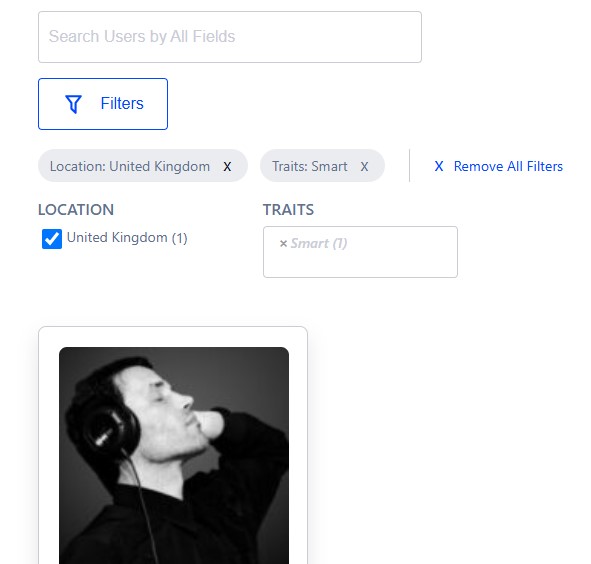
To do this, you’ll go to Profile Builder → User Listing and scroll down to the Faceted Menus section:
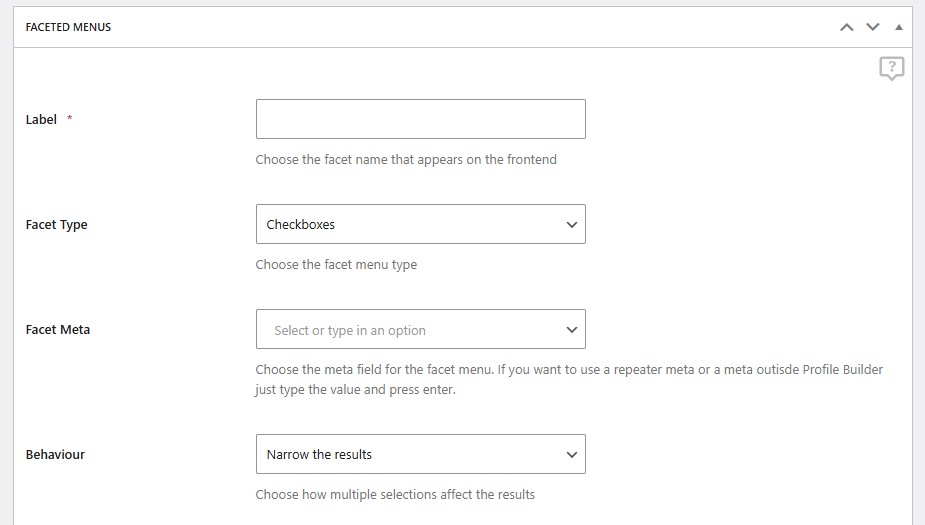
Here’s what these filters may look like on the front end of a dating website:
We have a full guide here if you want to add this functionality to your user map.
It’s Your Turn to Build a User Location Map for Your WordPress Site
If you run a membership site or user directory, it can be a good idea to create a user location map. This makes it easy for members to discover exact addresses and locations for seeking out professionals/businesses, or like-minded individuals.
To recap, here are six steps to set up a user map:
- Install Profile Builder Pro and the User Listing add-on.
- Add the Map to your form fields.
- Enable the relevant APIs.
- Generate a Google Maps API key.
- Add users to your Google map.
- Configure faceted filters.
Profile Builder Pro
Create beautiful front-end registration and profile forms with custom fields. Setup member directories, custom redirects, cutomize user emails & more using the all in one user management plugin.
Do you have any questions about how to set up a WordPress map using Google’s APIs? Let us know in the comments below!