Congratulations! You have just made your new website live. Looking for final Website Post-Launch Checklist?
Just because your website is accessible to users doesn’t mean that it has reached its full potential. Your website still needs attention to grow continually.
After making your website live there are a couple of things that should be doubled checked to make sure that everything is streamlined and ensure that nothing was overlooked.
Below, we have added the comprehensive website post-launch checklist for you and explained each of the key areas in detail.
Let’s get started!
1. Site is visible to search engines
To make your website visible on search engines like Google, Safari, Bing, etc you first need to tell them that you exist. Enable your website indexing right after making it live.
In the online universe, if you are not picked up by search engines, your website is going to be invisible to 99.99% of the people on the Internet, and you can completely forget about organic traffic.
WordPress comes with a built-in feature to enable or disable the indexing for search engines on your site. All you need to do is: Redirect to Settings > Reading and uncheck the box next to the “Search Engine Visibility” option to enable the website crawling.

2. SSL certificate is successfully installed
Secure Sockets Layer – SSL keeps the internet connections secured and prevents your website from reading or modifying information.
Do you know, SSL is now part of Google’s search ranking algorithm?
The benefits of having an SSL Certificate are:
- Keeps your website secured
- Encrypt the sensitive information
- Boost your site’s SEO
To check an SSL certificate on your website, just follow these two steps :
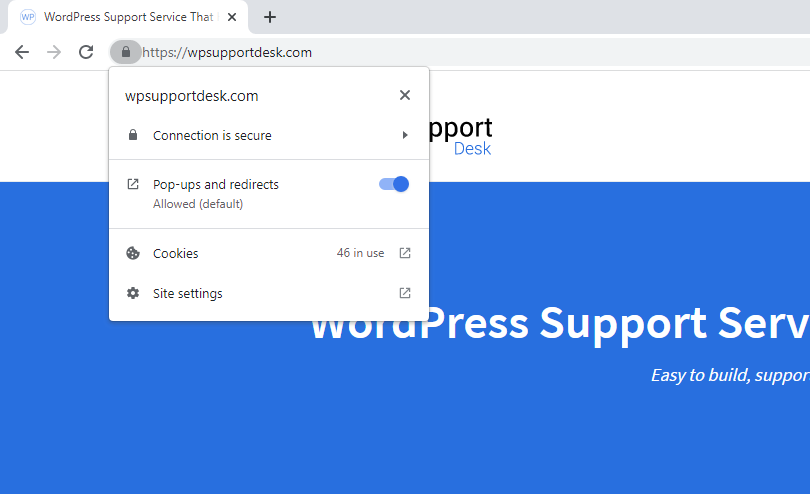
- Firstly, Check if the URL of the website begins with HTTPS. Here, S indicates it has an SSL certificate.
- Secondly, Click on the padlock icon on the address bar of your website to check all the detailed information related to the SSL certificate.
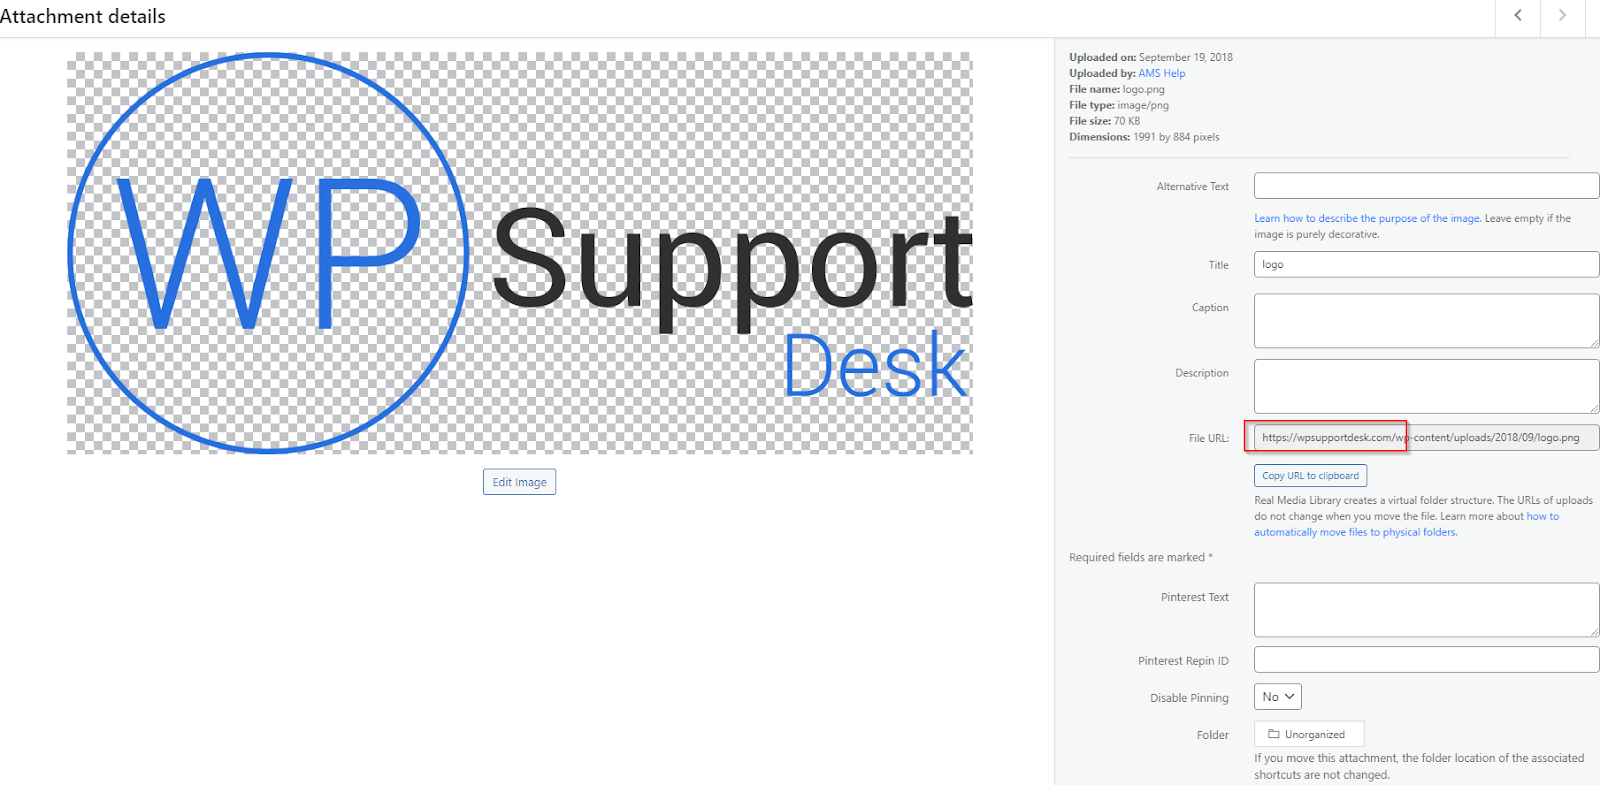
3. Images, media, and links – all should have live site URL
It is pretty frustrating to see your website not displaying the media properly and responding with errors and “not found” warnings. While moving your website from a local host or dev server to a live server, you might forget to update the links of images and media files.
As result, when you remove your website from your local host or dev server all images, media, and links on your live site gets broken.
Do you know, 39% of people will stop engaging with a website if images won’t load or take too long to load?
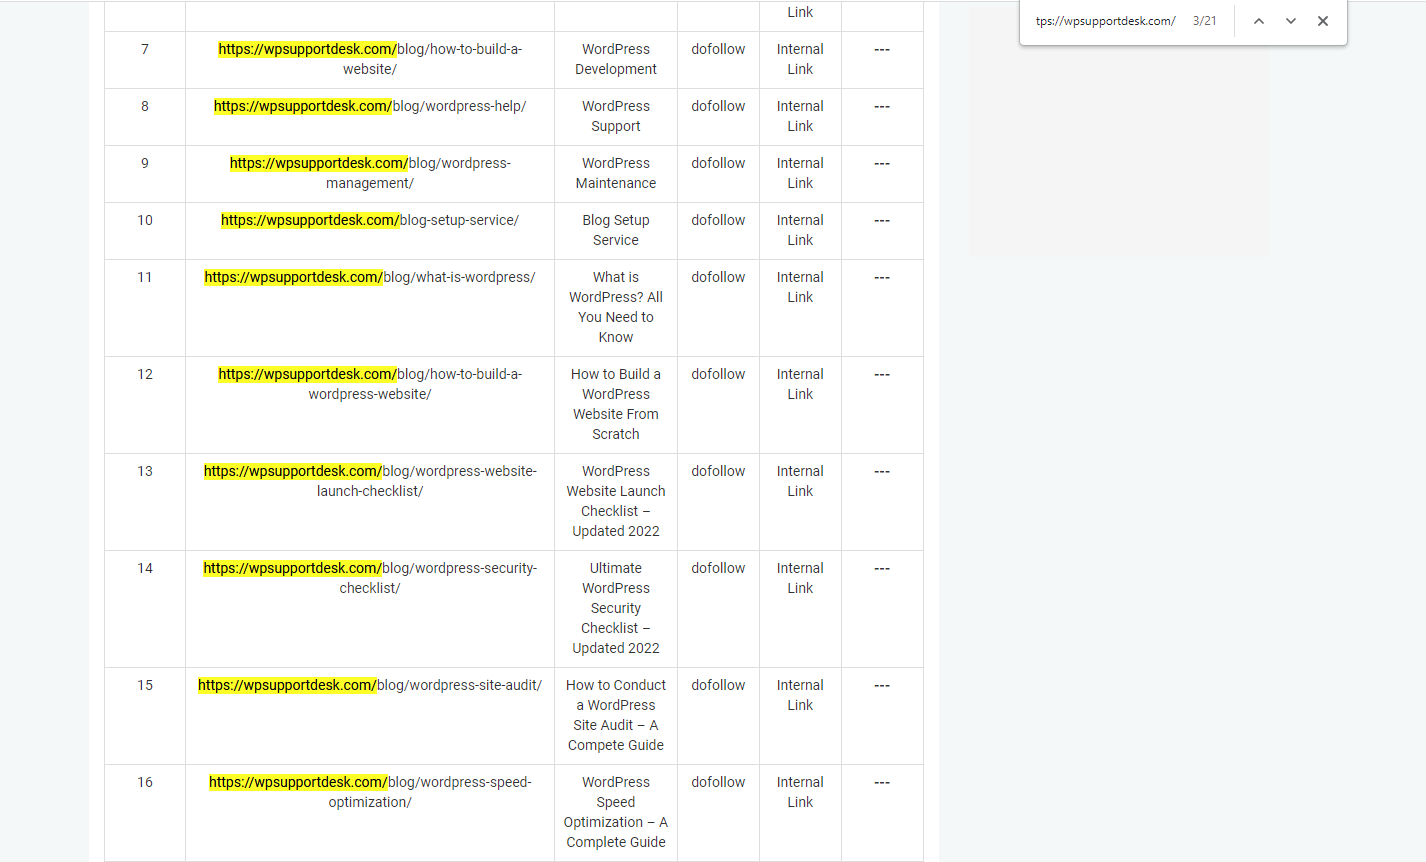
There are two simple ways to check your media and link URL:
- Either review it from your website dashboard
- Or, extract all the links of your website and quickly review the links there.
4. Webfonts integrated and working correctly on the live site
The font codes often get dropped on the website accidentally. If your website only displays part of the text in the correct font and the rest in a different font, it means website font has not been integrated correctly.
There are two simple ways to check your website web fonts:
- Every browser has a built-in interface to show you all sorts of information about the webpage you’re viewing, called Developer Tools. You can easily check your web font information using this tool.
- You can check your website font details in inspect as well.

5. 301 redirects are in place and working correctly
A 301 redirect passes full link equity to the redirected page. It refers to the HTTP status code for this. 301 redirects may not boost the rankings of your web pages, but they can ensure that both Google and search users are directed to the content you want them to find.
Manually finding and fixing all broken links is quite a difficult process. Fortunately, redirect plugins can simplify this process for you.
In WordPress, there are countless plugins that help you to automate the redirecting process. All you need to do is, enter the source and destination URL.
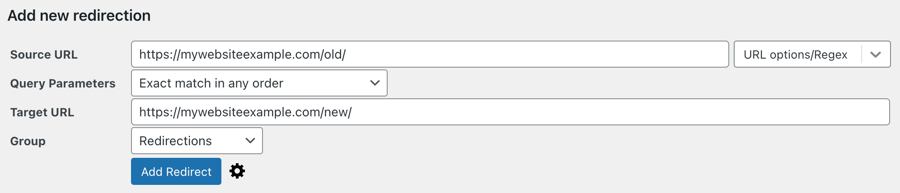
To test your 301 redirects, type your customized URL into your browser’s address bar. Setting up the redirect correctly, will have you redirected to the defined destination page.
6. Generate a new sitemap.xml and upload it to the root
An XML sitemap file lists all the website’s essential pages and makes sure that Google can find and crawl them all. A good XML sitemap acts as a roadmap of your website and helps to speed up content discovery.
- Faster indexation
- Better indexation of deep pages
- Monitoring of indexed pages
The Sitemap.xml file includes :
- XML version declaration
- The URL set
- The URL
- Last-mod
Yoast SEO creates an XML sitemap for your website automatically. Redirect to WP Dashboard > Yoast SEO > Features to see the default file settings.


7. Test user experience again
You need to evaluate your website after making it live to ensure an effective and satisfying experience for the users.
Website user experience testing helps you to check the following:
- User-friendliness
- Efficiency
- User satisfaction
- Detection of errors
Responsive is a non-negotiable now. According to the survey, 73.1% of web designers believe that a non-responsive design is a top reason why visitors leave a website.
Essential points to test the user experience includes :
- Ensure your website design is rendered across browsers and devices
- The website favicon is rendering properly
- Properly validation of CSS/HTML
- Internal & external links are working properly
- Feeds are working properly (RSS, news, social media)
- All forms and their auto-responders are working properly
- Social media share icons are working properly
You can use real-time feedback to improve your website and focus your content on what your users are looking for. Lambdatest.com is the best tool to evaluate your website.

8. Review security and backup strategies
After making the site live, sometimes your WordPress website might have a vulnerability and you might have no idea.
Did you know, it is estimated that there are an average of 30,000 new websites hacked every day?
Thankfully, securing a WordPress website is not that difficult and not required too much technical knowledge. All you need is the right tools and hosting plan to fit your needs.
To make your website secured, following are some must-have to-do’s:
- Use a web application firewall
- Host on a fully-isolated server
- Use the latest PHP version
- Strengthen your server-side security
- Harden wp-config.php file
- Disable XML-RPC
- Hide your wp-admin login page
It’s wise to use tools to find vulnerabilities in your website. The WordPress security plugins itself scans for known vulnerabilities in WordPress core files, plugins, and themes.
Additionally, we can use the Sucuri.net tool as well and follow this WordPress security checklist.

9. Test your analytics setup
Web analytics is a useful tool to track how many visitors your website gets, what content they like, how they reach your website, and much more. All this valuable information helps you to improve your website.
Following are some essential checks which you need to mark checked.
- Analytics codes and tracking scripts are inserted on the website.
- Google Webmaster and Google Analytics accounts have been properly synced.
- Google Ads accounts have been properly synced


10. Verify that conversion paths work
A conversion path is a process by which a website visitor becomes a known lead. Test and validate the lead generation forms, CRM integration, and every other technology that works perfectly across your website.
Do you know, the average website conversion rate is 2.35% across all industries? and the best-performing websites have a conversion rate of 11%.
You actually need conversion tracking to measure your success and failures. After making your website live, you need to make sure that everything is streamlined.
The following are some essential checks to make sure
- Forms are submitting the data properly. Thank you message or page is being displayed after the form is submitted
- Form data is being emailed to a recipient and/or stored in a company database
- Auto-responders are working properly

11. Check that integration with third-party tools is running smoothly
For the purpose of extending the core functionality of your website, third-party integrations are available to connect seamlessly with tools.
If the goal is to increase productivity, then it might be wise to rely on the scalable, standardized approach that third-party platforms offer.
3rd-party performancego hand in hand with onsite and backend optimizations. Therefore, they should not be ignored.
After making your website live, make sure to test all integration to make sure that everything is smooth and streamlined with your process.
12. Keep spam away
It’s really important to keep your website safe from spam, fraud, and abuse reCAPTCHA is the best option here. It actively protects the integrity of your site from bots.
Recaptcha has become an important part of a well-maintained, secured, and protected website. After having your website live, It is the right time to have your Recaptcha implemented.
There are many different ways of Installing reCAPTCHA , either manually or by using a WordPress plugin. Installing the plugin is the simplest process. All you need is to install the plugin on your website and pass the keys there.
The benefits of having reCAPTCHA on your website are :
- Stop brute force attacks
- Prevent hackers from signing up for multiple email accounts
- Stop cyber criminals from spamming blogs or news content pages with dodgy comments and links to other websites.

13. Optimize your website speed
Page speed is a huge factor in your website’s success. The speed of your site dramatically impacts your site’s SEO and bounce rate.
According to a study, only 15% of websites are considered to have acceptable loading times. 46% of websites load between six and ten seconds to load, which is double what Google recommends for website loading times.
Your website should look and perform equally well on all platforms, including Mac and PCs with different browsers, Android and iOS smartphones as well as tablets. Pagespeed is the best online tool to check your website speed.
The benefits of optimizing website speed are :
- Improves website’s ranking in search results
- Influence on your brand’s perception
- Affects your conversion rate
- Improves user experience
- Increased chances of website sharing

That’s all!
Conclusion
Wrapping up! After launching your WordPress site, there are countless little things that you need to remember. Whether you are a beginner or an expert, It’s really hard to feel confident that you haven’t forgotten anything.
This Website Post-Launch Checklist ensures that you haven’t missed anything important for your site’s success. After implementing these points your site is ready to open its doors to visitors.
Have you found this blog helpful and improved your post-launch process? Let us know your thoughts below.
Source: https://wpsupportdesk.com/blog/website-post-launch-checklist/
